
AION 2 Global Gladiator Guide: PvE Builds and Skills
Use this AION 2 Global gladiator guide to build your PvE rotation, choose Stigmas, manage mana, and prioritize gear upgrades for tough dungeon encounters.
Jump to
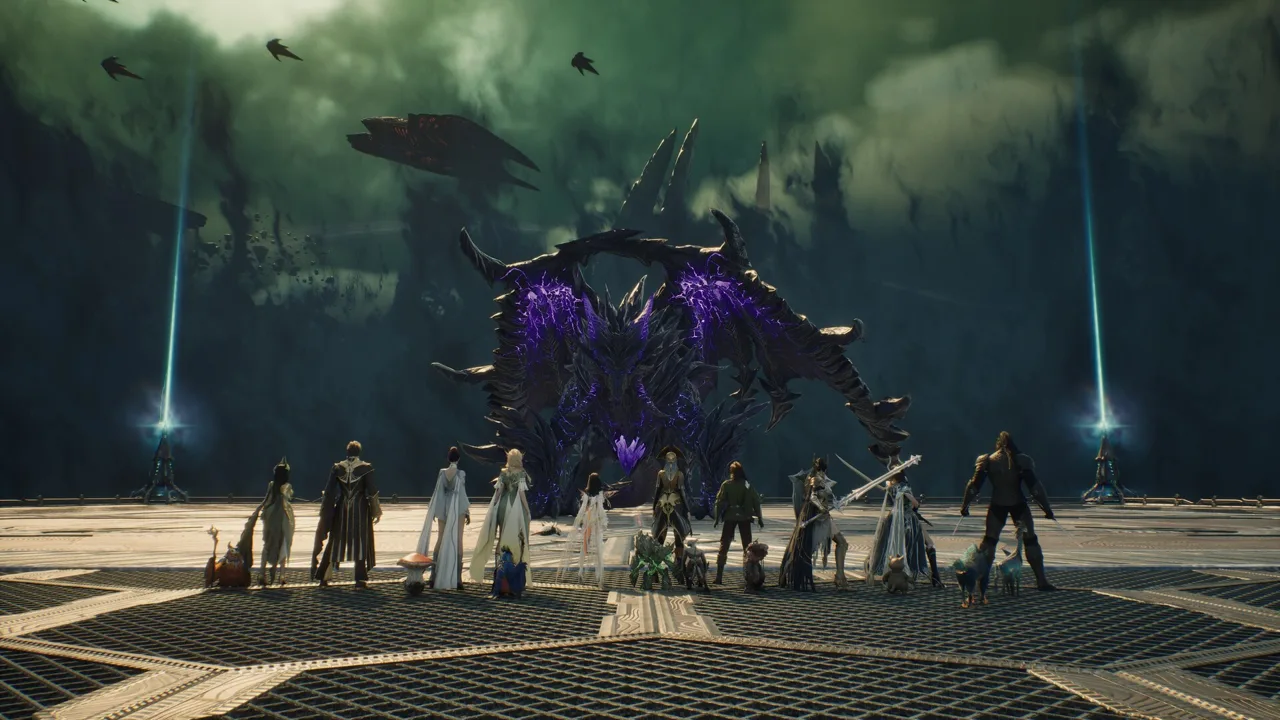
AION 2 Global Gladiator Guide: Build Your Damage Around Sustain
An empty mana bar can bring your Gladiator’s offense to a halt right when a boss gives you room to attack. This AION 2 Global gladiator guide focuses on keeping your damage skills, buffs, and resource recovery working together through longer fights. Use this AION 2 Global gladiator guide to plan your PvE setup, then adjust your defensive tools around the encounter.
Gladiator combines melee damage with the ability to hold an enemy’s attention. That gives you more to manage than attack cooldowns: positioning, blocking, threat, and mana all affect how much damage you can keep delivering.
Build around Ruinous Blow, Rending Blow, and Overhead Slam, with Keen Strike supporting your mana recovery. Your Stigmas then add combat buffs, enable attacks, and provide a flexible choice between offensive utility and survival.
Keep these priorities in mind while developing your character:
- Invest in the attacks that carry your regular combat loop.
- Use basic attacks to support sustained mana spending.
- Select Specialties deliberately as skill levels improve.
- Change your flexible Stigma when incoming damage becomes a problem.
For the October 10 PvE setup covered here, Lunge Stance, Zikel’s Blessing, and Rage Burst form the core Stigma package. Blade Toss fills the offensive flex slot, while Lifestealing Blade and Focused Block offer alternatives for encounters that demand more protection.
Official page: AION 2 (aion2.plaync.com)
Core Gladiator Skills and Passive Priorities
The skill section of this AION 2 Global gladiator guide starts with each attack’s job. Knowing why you press a button makes it easier to recover your rhythm after dodging a mechanic or changing targets.
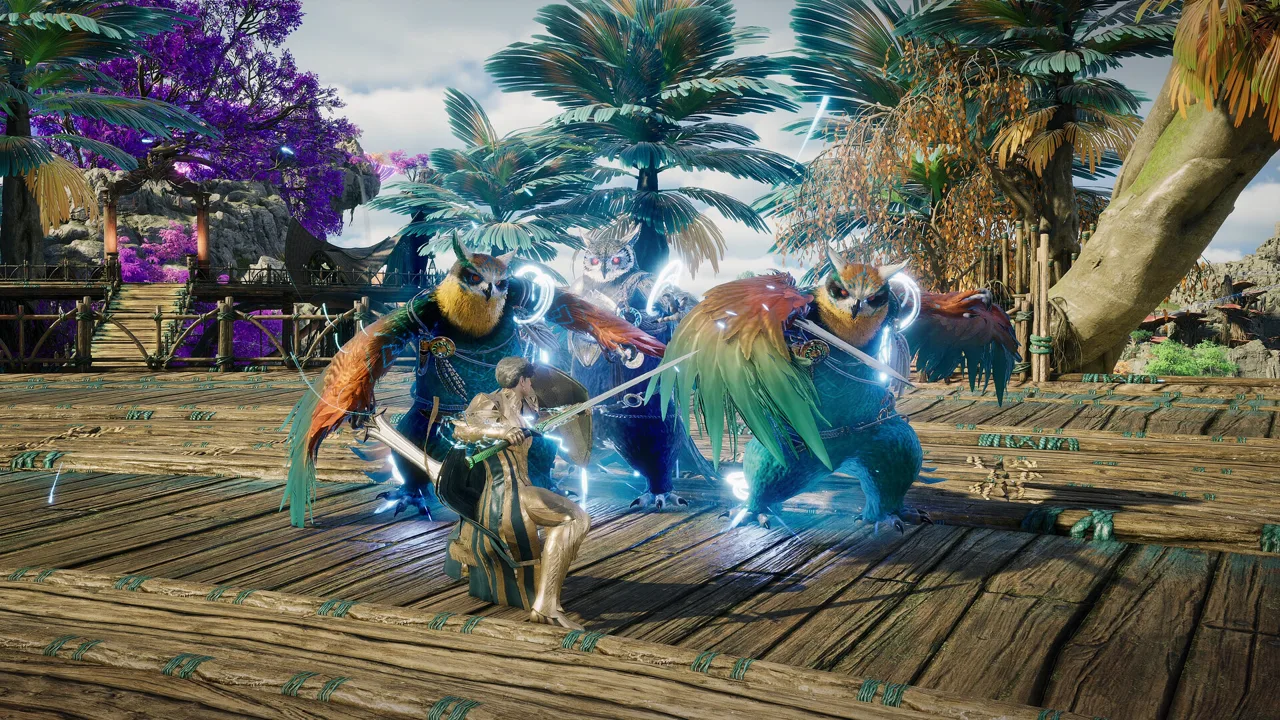 Image: Steam / NC
| Skill | Function in the PvE setup | How to use it |
|---|---|---|
| Ruinous Blow | Deals damage and grants Prepare for Battle | Use early, then reuse when available |
| Rending Blow | Provides repeated mana-spending attacks | Use alongside your other core damage skills |
| Overhead Slam | Delivers core damage through the Rage Burst interaction | Use after Rage Burst enables it |
| Keen Strike | Supplies basic attacks and mana recovery | Keep it involved throughout sustained combat |
| Sword Aura Rampage | Attacks staggered enemies | Select its mana-restoration Specialty for MP recovery |
| Leaping Slam | Supports movement between enemies during farming | Choose its cooldown-reset Specialty for clearing regular monsters |
Develop Your Main Attacks Together
Give Ruinous Blow attention early because it contributes both an attack and Prepare for Battle. Follow through with Rending Blow and Overhead Slam so the rest of your damage package develops alongside it.
Keep Keen Strike in your controls from the start. Repeatedly spending mana without using your recovery tools leaves you with damage skills you cannot maintain. Practice combining basic attacks with skill inputs before adding more complicated timing.
For open-world farming, Leaping Slam’s cooldown-reset Specialty helps you move between enemies after kills. Use that option when clearing regular monsters, then revisit your setup before switching to boss content.
Support Damage With the Right Passives
Prioritize Attack Preparation, Impact Hit, and Experienced Counterstrike for this PvE setup. Attack Preparation also deserves attention when planning your Daevanion investments.
Blocking has offensive value through the counterstrike interaction, particularly when you are holding a boss’s attention. Keep your block input accessible and learn which attacks require a defensive response.
Passive sustain also belongs in your leveling decisions. Survival Stance adds maximum HP, while Blood Absorption provides healing when your health drops below half. Use those benefits alongside movement and defensive skills when managing incoming damage.
Gladiator Stigmas: Core Buffs and Flexible Choices
Your Stigmas should support the content you are running. For the PvE build in this AION 2 Global gladiator guide, start with combat speed, damage support, and the interaction that enables Overhead Slam.
 Image: Steam / NC
| Stigma | Contribution | Setup decision |
|---|---|---|
| Lunge Stance | Provides Combat Speed; upgrades offer double-chance benefits | Keep in the core PvE package |
| Zikel’s Blessing | Improves damage and Accuracy | Use as a core offensive buff |
| Rage Burst | Enables Overhead Slam | Keep equipped for this damage loop |
| Blade Toss | Reduces the target’s Defense | Select for offensive party utility |
| Lifestealing Blade | Adds healing and sustain | Replace Blade Toss when repeated hits threaten survival |
| Focused Block | Provides a defensive alternative | Choose when the encounter calls for more protection |
Match the Flex Slot to Incoming Damage
Blade Toss supports party damage by reducing enemy Defense. Select it when you can maintain your attacks and handle the encounter’s incoming damage.
Switch to Lifestealing Blade when repeated hits leave you struggling to stay alive. The added healing gives you another way to sustain your time in melee.
Choose Focused Block when you need a more defensive setup. Change the fourth Stigma around your role and the encounter instead of leaving an offensive choice equipped through every dungeon.
Separate Leveling Choices From Dungeon Choices
Wrath Wave is an AoE option for solo leveling. Keep its purpose distinct from the Lunge Stance PvE package: clearing groups of regular enemies and maintaining damage against a boss place different demands on your setup.
This distinction matters when following an AION 2 Global gladiator guide through progression. Revisit your Stigmas when your activity changes, especially when moving from comfortable farming into encounters with sustained incoming damage.
Gladiator Rotation, Mana Recovery, and Controls
Use this AION 2 Global gladiator guide’s rotation as a priority system. Boss mechanics can interrupt your attacks, so keep track of what is available when you return to melee.
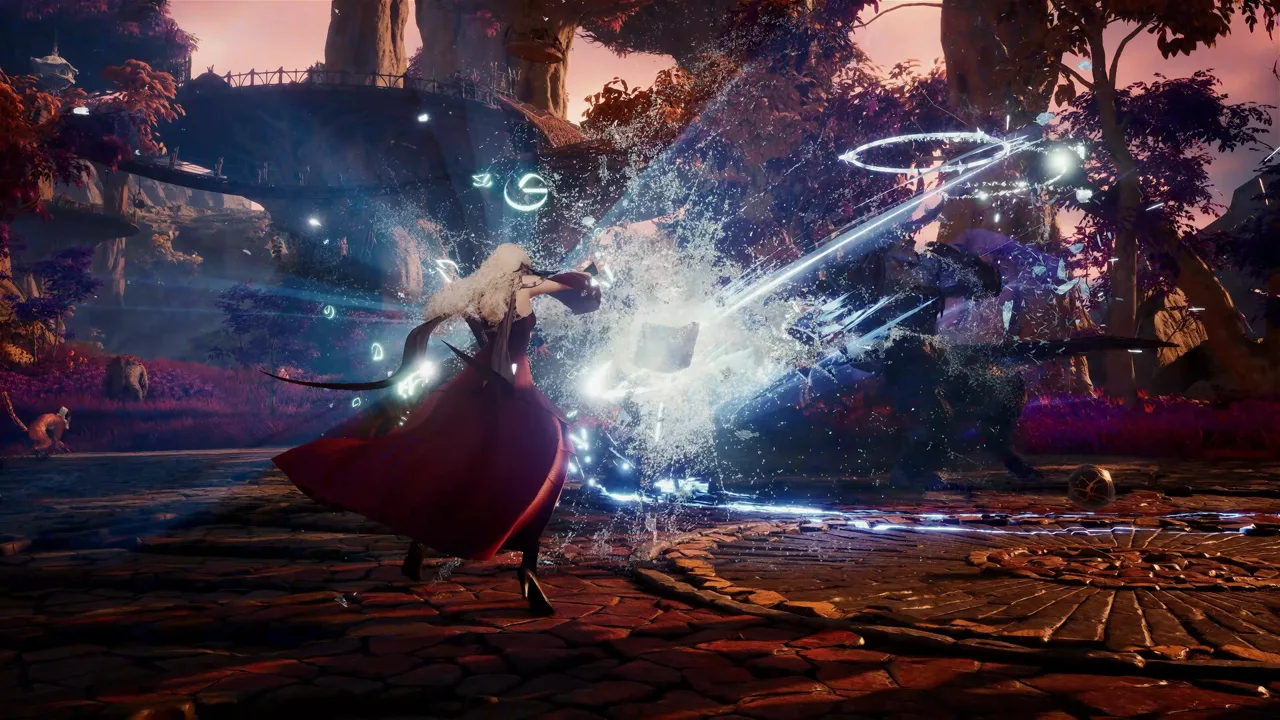 Image: Steam / NC
- Activate your damage buffs, including Lunge Stance and Zikel’s Blessing.
- Apply Blade Toss if it occupies your flexible slot.
- Use Ruinous Blow early to gain Prepare for Battle.
- Use Rage Burst to enable Overhead Slam.
- Continue with Overhead Slam and Rending Blow as available, reusing Ruinous Blow when ready.
- Keep Keen Strike involved for mana recovery.
- Use Sword Aura Rampage during stagger windows, with its mana-restoration Specialty selected when needed.
Move or block whenever the encounter demands it. Resume from the current combat state instead of trying to finish an interrupted sequence.
Fix Mana Problems Before Adding More Inputs
Keen Strike supplies mana that supports your repeated attacks. Sword Aura Rampage provides another recovery opportunity during boss stagger windows when you select the appropriate Specialty.
If your resources still run dry, review these options:
- Add maximum MP to increase your reserve.
- Check the activation conditions on MP regeneration bonuses.
- Invest in Daevanion MP nodes where needed.
- Craft mana potions through Alchemy → Potions.
- Consider Rending Blow’s critical-hit mana-restoration option at skill level 16.
Overhead Slam also gains a cooldown-removal Specialty at skill level 16. Select it explicitly; reaching the skill level alone does not activate the effect.
Review mana sustain again after changing your attack setup. More opportunities to attack also require a combat loop that can support the spending.
Set Up Macros Without Losing Control
The in-game macro system lets you group skill inputs under one binding. You can assign that binding to right-click while using left-click Keen Strike for mana recovery.
Check both the macro and your quick-slot assignments. Buffs, damage skills, and conditional attacks still need the correct configuration.
Test repeated rotations on a training dummy. Watch whether attacks activate correctly, whether mana holds up, and whether you can interrupt your inputs to move or block.
Add attack weaving after the basic loop feels comfortable. Compare sustained damage and resource use rather than judging the setup by its opening burst.
Gear, Daevanion, Pets, and Boss Preparation
Equipment priorities in this AION 2 Global gladiator guide center on supporting your attacks over a full encounter. Compare relevant bonuses alongside the displayed equipment score.
| Equipment or system | Attributes to prioritize |
|---|---|
| Weapon Soul Binding | Weapon Damage Boost, Combat Speed, Might, Precision |
| Guard Soul Binding | Weapon Damage Boost, Combat Speed, Damage Boost, Might |
| Pantheon: Time | Combat Speed |
| Pantheon: Illusion | Cooldown reduction after covering main priorities |
| Offensive pet rolls | Max Attack, Critical Hit, Damage Boost |
| Defensive pet rolls | HP increases, damage tolerance |
Combat Speed appears across several parts of the build. Check your combined bonuses when comparing upgrades instead of evaluating each item in isolation.
Pet rolls can improve damage and displayed Combat Power, but they do not raise gear score. Keep that distinction clear when working toward content with an equipment requirement. Avoid spending heavily on pet rerolls when your immediate goal is an upgrade that increases gear score.
Spend Daevanion Points With a Purpose
After developing your core active skills, use this investment order:
| Priority | Daevanion investment |
|---|---|
| 1 | Useful legendary damage nodes, including Damage Boost and Critical Damage Boost |
| 2 | Attack Preparation, Impact Hit, and Experienced Counterstrike upgrades |
| 3 | Attack nodes |
| 4 | Critical Hit nodes |
| 5 | MP nodes needed for sustained attacks |
Move MP investment forward if mana loss repeatedly interrupts your rotation. Address the resource problem so you can use the damage upgrades already on your character.
Review unlocked titles, Arcana Cards, Theostones, and cumulative Closet bonuses as your character develops. An AoE Theostone is an option for a setup focused on hitting multiple enemies.
Prepare for Your Actual Boss Role
Enmity means threat: it influences which player an enemy targets. Gladiator’s attacks generate threat, allowing you to hold attention while dealing damage.
When tanking, keep defensive inputs within easy reach and watch boss orientation. Front Damage Boost is relevant when you regularly attack from the front; evaluate it around where you actually spend the encounter.
Before entering a dungeon, check your Stigmas, selected Specialties, mana recovery, and controls. Make the setup easy to operate while responding to mechanics.
FAQ
What should I prioritize in an AION 2 Global gladiator guide?
Develop Ruinous Blow, Rending Blow, and Overhead Slam while maintaining mana through Keen Strike. Pair them with Lunge Stance, Zikel’s Blessing, and Rage Burst for the PvE setup covered here.
Is Gladiator a tank or DPS class?
Gladiator supports both roles. Its damage skills generate threat, allowing it to hold an enemy’s attention while attacking. Adjust defensive tools and your flexible Stigma around your assigned role.
Why does my Gladiator keep running out of mana?
Repeated mana-spending attacks need recovery support. Keep Keen Strike involved, use Sword Aura Rampage’s mana-restoration Specialty during stagger windows, and review MP nodes, regeneration, and mana potions.
Should I always equip Blade Toss?
Equip Blade Toss for its Defense reduction when you can manage incoming damage. Replace it with Lifestealing Blade for healing or Focused Block for a more defensive setup.
Continue with
 AION 2 Global Sorcerer: Build, Skills, and Macro TipsMaster your AION 2 Global sorcerer with skill priorities, Stigma choices, mana management, and flexible macro tips for better dungeon and boss performance.
More in Classes

AION 2 Global Brawler: Release Window and Class Guide
Explore AION 2 Global brawler release expectations, Korean class details, and Rampage combat. Plan your melee character while playing the launch roster.

AION 2 Global Chanter Or Cleric: Class Choice Guide
AION 2 Global chanter or cleric? Compare class priorities for solo play, group dungeons, and aerial combat, then plan a character that fits your goals.

AION 2 Global Class Popularity: Rankings and Choices
Explore AION 2 Global class popularity, compare class roles and regional rankings, and choose main with practical tips for solo play and group content.
AION 2 Global Cleric Build: Skills, Stigmas & Healing
Shape your AION 2 Global cleric build around reliable heals, key Stigmas, and party damage support. Learn skill priorities, Daevanion paths, and PvP tips.
Join the community
Official channels for news, updates and player help: